
There’s no doubt about it – orchids are one of Mother Nature’s greatest flirts. From the moment they were first documented, horticulturists have described the suggestive shape of orchid flowers and the intoxicating scent.
Whatever you might think of these claims, the fact that Orchidaceae is the second largest family of flowering plants in the world (after Asteraceae) with some 28,000 species across 763 genera should tell you something.

In fact, orchids are incredibly popular as houseplants, despite needing a bit of extra care. This brings up a common question regarding indoor orchid care.
Orchids, as with all potted plants, need to be repotted occasionally. However, your orchid may have developed aerial roots, which makes repotting a little bit more difficult.
Let’s take a moment to examine the phenomenon of aerial roots and the steps needed to repot an orchid that has them successfully.
How To Repot An Orchid With Air Roots?
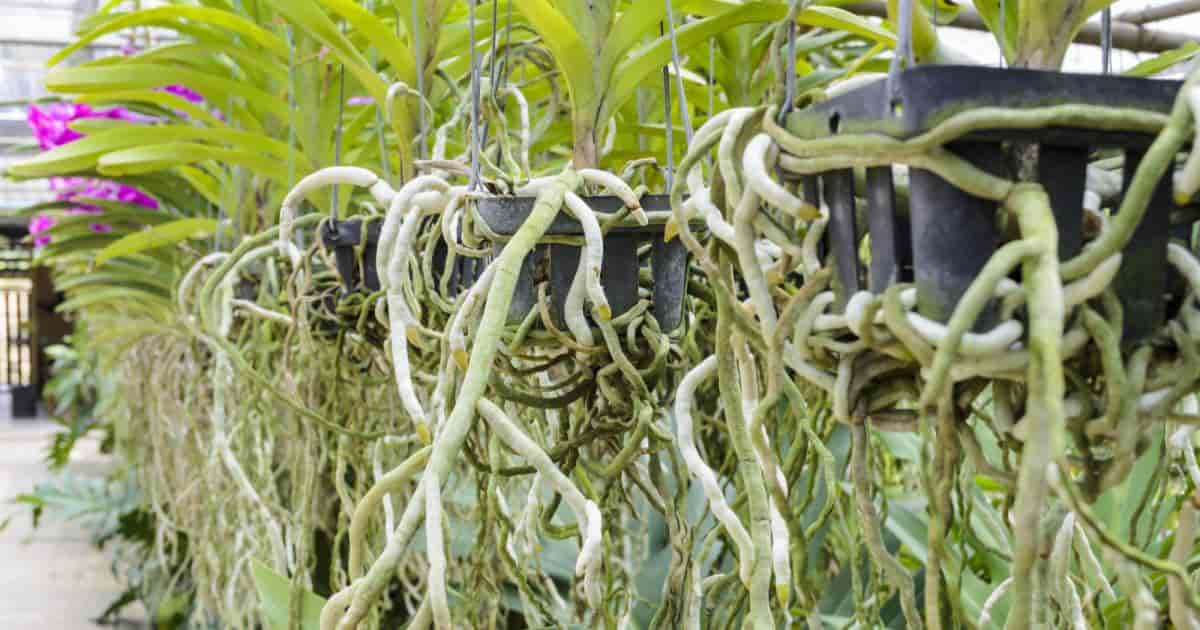
Before we discuss repotting, it’s important to understand what aerial roots are. Afterward, we’ll discuss the repotting process in more depth.
Just What Are Aerial Roots?
There are two general types of orchids:
Terrestrial orchids grow exclusively on the ground and don’t develop aerial roots. However, epiphytic orchids are a bit different.
Epiphytic is a term that translates to “upon plant” and has two subcategories.
Hemiepiphytes begin as terrestrial plants but climb when they find a support plant and become epiphytic.
Holo-epiphytic (often just called epiphytic) plants never touch the ground and rely entirely upon the host plant (called a phorophyte) for support.
Most orchids are holo-epiphytic, and this is why they develop aerial roots.
Unlike parasitic plants, which burrow into the host plant, epiphytes have learned to draw moisture and nutrients directly out of the air (or water, in some cases) and only interact with the host plant by clinging onto it for support.
Thus, those peculiar air roots from your orchid are actually serving an important function.
When Should Orchids Be Repotted?
Now that you know what aerial roots are, we can let you in on a little secret regarding orchids.
Because these are (mostly) holo-epiphytic plants, they’re not adapted to life in the soil. This means they tend to react much more strongly when the nutrients dissipate from the soil over time.
Many growers use a soil-free blend that works much better with orchids (because it contains bark and other substances the plant is more at home with), but even these mixes can lose their nutrients over time.
Fertilizing helps to some extent, but the trade-off is adding mineral salt to the potting medium, eventually harming the plant.
As a result of trying to put orchids into an environment they’re not well suited for. They’ll try to spread out their roots in search of a more compatible environment.
This means orchids can quickly outgrow their containers or send out aerial roots.
Between this attempt to escape captivity and the need to ensure the plant is actually getting enough nutrients from its soil, you will need to repot every 2 years.
However, if you see roots poking from the soil, this is a sign the plant needs a bigger pot, and you shouldn’t wait to repot.
If possible, aim to repot during the summer when the plant is at its healthiest growth to minimize transplant shock.
Repotting An Orchid With Air Roots: Step-by-Step Guide
Repotting an orchid with air roots is a bit more complicated than repotting terrestrial plants, although the extra steps involved aren’t particularly hard.
Here’s everything you need to know to repot your orchid every time successfully.
Step 1: Remove The Container
Before repotting, water your orchid to moisten the soil and loosen it up a little. This can also help your orchid’s roots to relax a little.
If you have a thin, flat utensil (such as a popsicle stick), you can run this around the inner edge of the pot to help loosen the soil away from the container wall.
Be careful not to bruise or damage any roots while doing this step.
With the plant loosened, there are two ways to remove the pot.
The first method is to gently grab the orchid by its stems near the base of the plant (never grab by the aerial roots or leaves!) and carefully wriggle it out of the container.
The second method involves laying the plant on its side, being sure not to damage the plant.
While holding onto the base of the plant, so it doesn’t move, take your shears or another object and give the bottom of the pot a firm tap or two, then slide the pot off.
Note that soil-free potting mixes will usually come out much easier than soil.
Step 2: Remove All Old Soil And Soak
Gently pick up the plant near the base of the stems and slowly shake off any loose potting medium.
Using some warm (not hot) distilled water, carefully isolate sections of roots (including aerial roots) from the leaves and crown and rinse off any remaining potting medium.
This has the added benefit of making the roots more pliable.
If necessary, you can soak the roots themselves in warm water for up to 20 minutes to get any stubborn debris to come off.
If the crown or leaves get wet, gently dab away the moisture using tissues or a soft paper towel, but avoid rubbing or other harsh movements.
Step 3: Examine And Treat The Roots
Healthy roots should be white to off-white, while sick roots tend to be brown to black.
Using sharp, sterile shears, gently prune away any diseased roots and those that have died or dried out (considering you just provided plenty of water, any dried-out roots are obviously no longer functioning properly).
Be sure to sterilize your shears after each cut to prevent the risk of cross-contamination or infection from any airborne pathogens.
Grab a spray bottle of 3% hydrogen peroxide and thoroughly spray the roots to kill potential pathogens. Then allow the peroxide to evaporate naturally.
Step 4: Repotting
Now that your orchid has had a thorough examination, has only healthy roots, and was sterilized against potential disease, it’s finally time to repot.
If the orchid was becoming rootbound, graduate to a new container 2” inches larger.
Otherwise, you’ll want to reuse the old container (or a new one of the same size if you discover root rot or other diseases on the roots).
Add fresh potting medium to the container, ensuring it’s nice and loose, then sit the orchid in the pot.
Gently add more soil, spreading the roots a little as you go, so they have more room to expand until the pot is completely full.
Note that some or all of the aerial roots may end up in the potting medium by the time you’re done, but you don’t want to bury the plant itself deeper than or was previously to avoid the risk of stem or crown rot.